Once you installed Slime UML, you can easily create new class diagrams.
Make sure, that
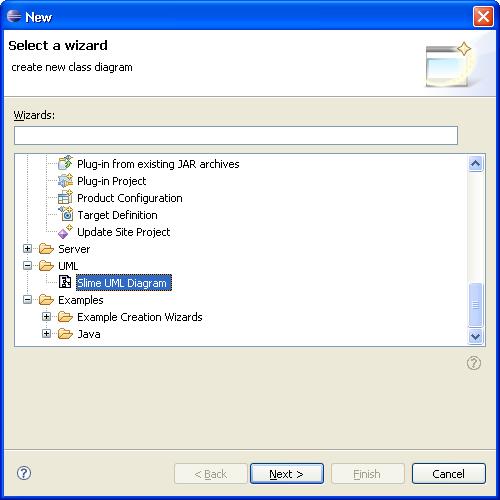
Select "File --> New --> Other", which brings up the Class Diagram Wizard:
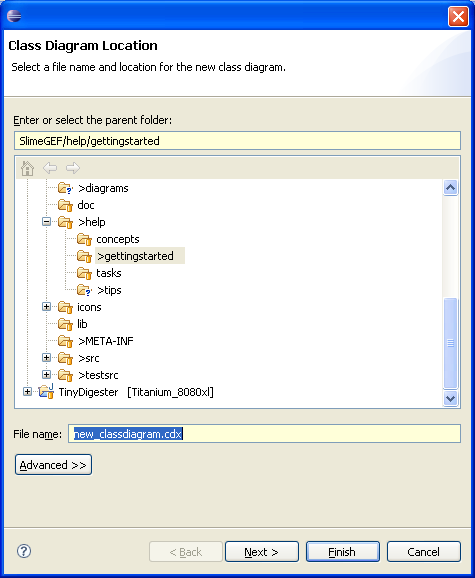
Press the next-button and choose name and location of the class diagram file (".cdx") to create:
Press the next-button and choose packages and/or classes to include in the diagram:
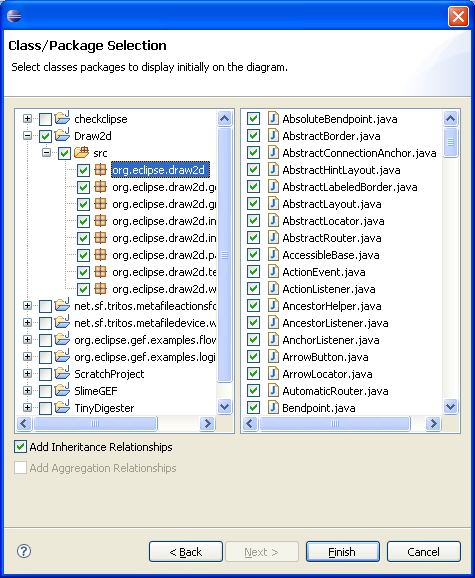
You might want to check the "Add inheritance" checkbox to automatically add inheritance connectors between classes. Aggregation will (TODO) add aggregation connectors between classes; but since this cannot be automatically detected in most cases you would add them manually.
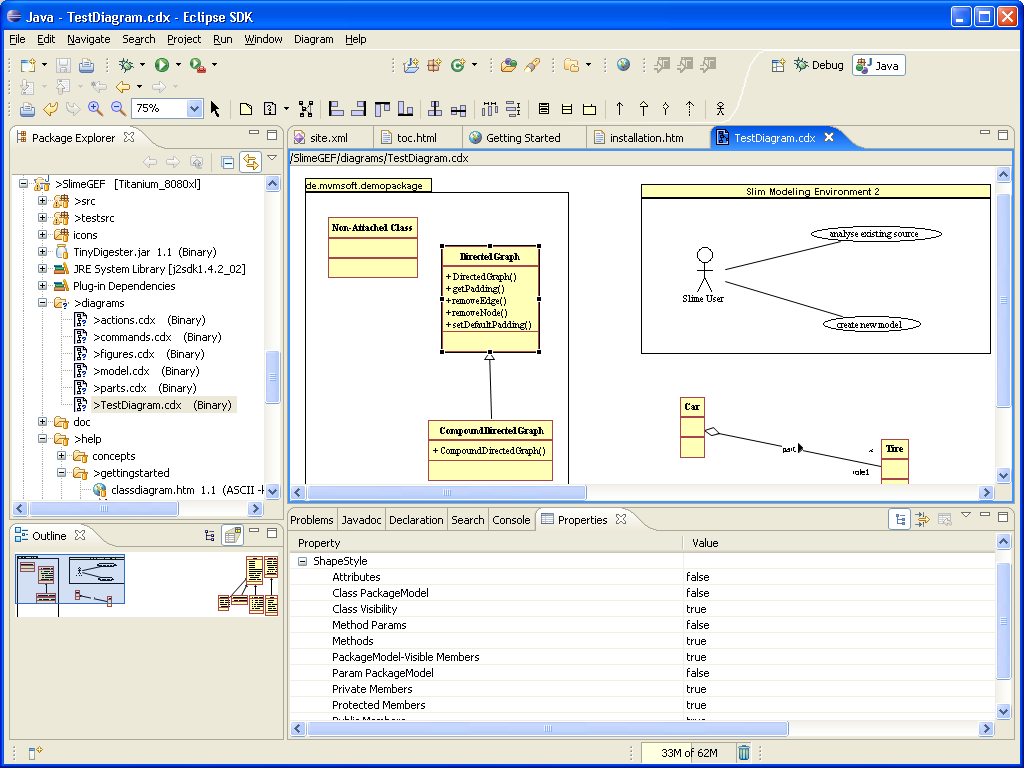
Now press Finish-button. A new class diagram will be opened, classes added (this may take a while; don't press any buttons until it is finished !), and autolayout based on inheritance hierarchy will be done:
ATTENTION: After autolayout, there might be nothing visible on the diagram; if so, try scrolling around until you find something !
The easiest way is to use the Outline View which displays a mini-view of the diagram; check below how to open it. Click on the location where something is visible, the diagram will be positioned on this location.
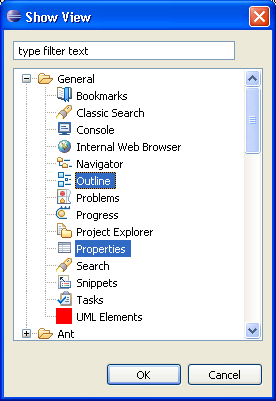
To work with Slime diagrams, open the other two views which are important when you work with diagrams:
Of course much easier is to switch to the Diagram Perspective, which opens and arranges all needed views for you. (Window->Open Perspective->Other->Diagram)
Select a class (or connector) on the diagram by clicking on it. Now your workspace should look like this:
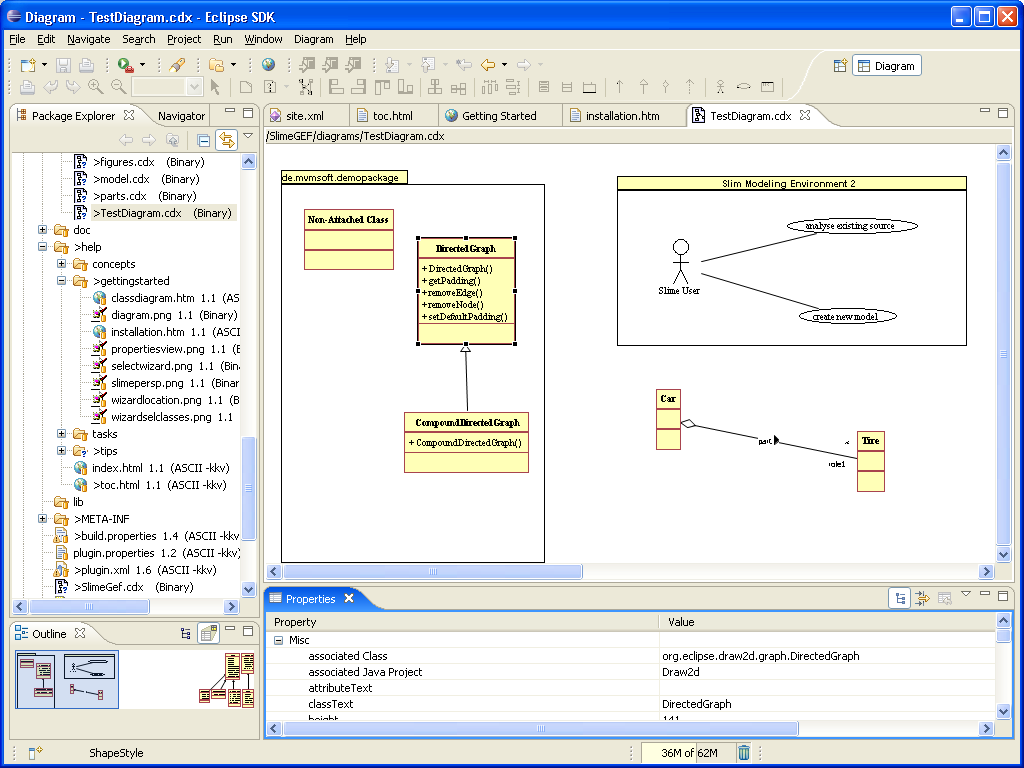
You can select one or multiple shapes or connectors; the properties view always shows the properties, which the selected shapes have in common; see Selection for more details on selecting shapes and Properties for more details on changing properties.
Working with the diagram overview is explained here.
Have fun with Slime UML !